DotScope mini 2D
The most efficient way
to measure gravure cylinders
All components of the DotScope mini 2D are designed to maximise productivity. Measurements can be carried out and saved using buttons without having to remove the measuring device from your hand. Measurements are taken automatically and refocussing is often unnecessary.
Your benefits
DotScope mini 2d
For gravure power users
Easy handling
Quick lens change
High repetition accuracy
Control buttons on the device
Quick workflow
Power users in gravure printing
Maintenance option
Long service life
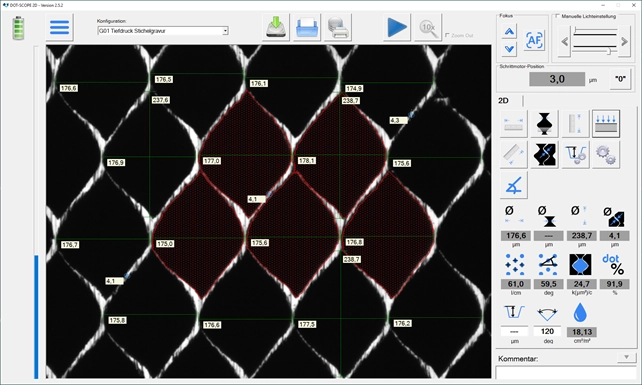
Gravure engraving application
- Transverse diagonal
- Longitudinal diagonal
- Cut-through (channel)
- Wall width
- Screen width
- Screen angle
- Cell area
- Cell area percentage (dot%)
- If the stylus angle is specifi ed, calculation of the theoretical dip volume in cm³/m², BCM or µm³/cell
- Reliable measurement even with very narrow walls
- Transverse diagonal
- Longitudinal diagonal
- Cut-through (channel)
- Wall width
- Diagonal
- Angle
Rotogravure cross screen application
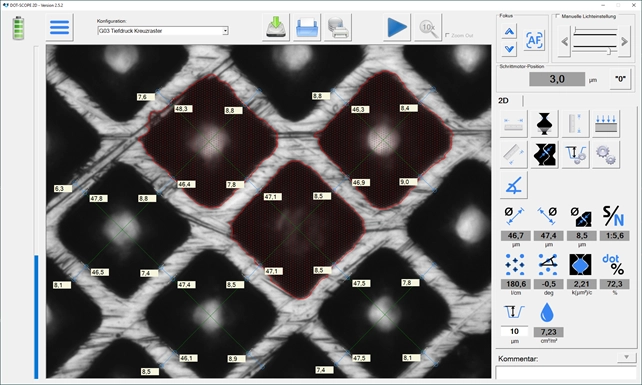
- Diagonal A
- Diagonal B
- Wall width
- Wall cell ratio (S/N)
- Screen width
- Screen angle
- Cell area
- Cell area percentage (dot%)
- If the stylus angle is specifi ed, calculation of the
theoretical dip volume in cm³/m², BCM or µm³/cell
- Transverse diagonal
- Longitudinal diagonal
- Cut-through (channel)
- Wall width
- Diagonal
- Angle
MicroCell analysis
- Diagonal of the MicroCell
- Depth measurement
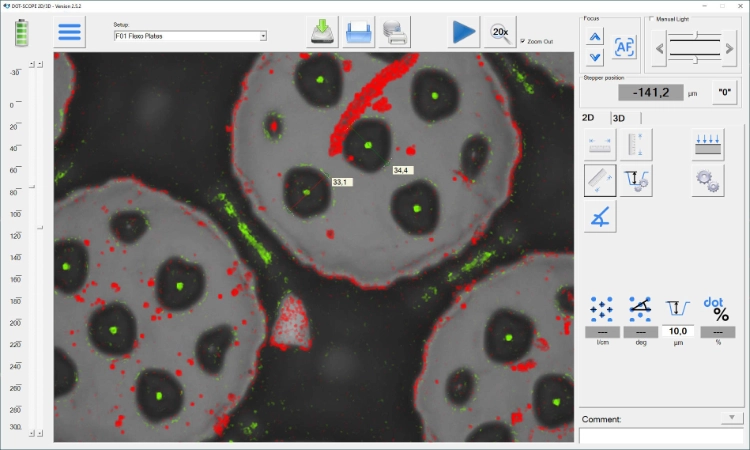
Depth measurement with z-Scan
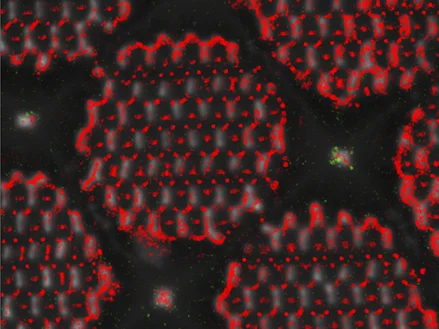
With the depth scan, the depth of structures can be measured with software support.
- Documentability of the depth measurement
- More accurate and reproducible determination of the measured depth value
- In general, an object with a lower magnifi cation level can be selected than with purely manual measurement. This increases the lateral fi eld of view accordingly.
Versatile functions for documentation and archiving
- Save and load measurement
- Print measurement report
- Database connection
- Create JPG image
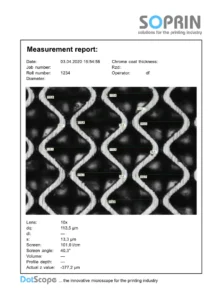
Technical specifications
- Camera sensor resolution: 1280 x 1024 pixels
- Roll diameter: From 60 mm to flat
- Weight: 2,9 kg
| Lens | Max. measuring field | Min. optical resolution | Screen range l/cm | Screen range lpi |
|---|---|---|---|---|
| 5x | 1400 x 1060 µm² | 1,10 µm/Pixel | 15...60 l/cm | 38...152 lpi |
| 10x | 700 x 530 µm² | 0,55 µm/Pixel | 30...240 l/cm | 76...610 lpi |
| 20x | 350 x 260 µm² | 0,27 µm/Pixel | 60...600 l/cm | 152...1524 lpi |
Your key to maximum Performance
Ready To See What's Next?
Like Nothing You've Seen. Get your quotation for your solution
Let's go!
Your partner for mobile microscopie and quality control in the printing industry.
Address
SOPRIN GmbH
Lise-Meitner-Straße 1-7
24223 Schwentinental, Germany
Contact us
T: +49 4307 2049 570
E: info[@]soprin-gmbh.de
